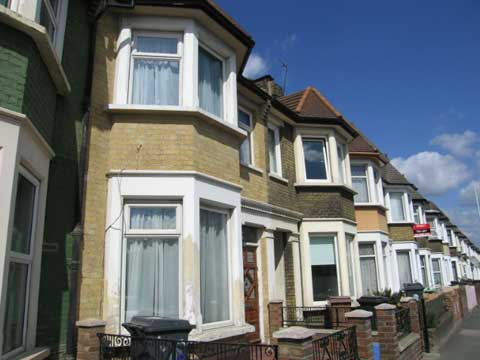
So over the past two months I finally got out of ecoresearch stagnation and into ecorefurb reality. It’s not like we’ve knocked down the house and completely resurrected it as an ecohouse; we’ve just done what every Victorian single-brick house needs: insulated our outside walls, inside.
After all my research about wall and floor insulation, I decided on the product for the walls (Knauf Insulation Earthwool Ecobatts) and decided against insulating under the floor as the amount of uncarpeted floor space (about 4 square metres plus the hall) meant the cost of the labour and disruption to the household just wasn’t worth it.
After meeting six builders I finally decided on the one for us, a local builder called Rob. He understood my eco-motivation and had even insulated some of his own house with sheep’s wool and was willing to learn new techniques. An enlightened builder indeed.
Craig O’Donnell, the man in charge of residential refurbishment at Knauf Insulation, came and trained Rob and his building partner Andy on the day the materials were delivered, and I was mighty glad I hadn’t thought I would be capable of doing it myself. Although it is something a ‘competent DIY person’ should be able to do, I asked Andy and he said you’d have to be very competent with a lot of good tools. So that’s us out.
Preparation and plastering
We’d decided to insulate the external walls of three rooms: the lounge and bedroom bay window walls and two walls of the back bedroom. So we had to pack up large parts of the rooms in order that Rob could have room to work and all our stuff didn’t get covered in dust. Luckily we have a garage so could store some things in there, but inevitably you have to keep your clothes and everyday stuff accessible, and not everything can be moved (piano, sofa, beds, cabinets, etc).
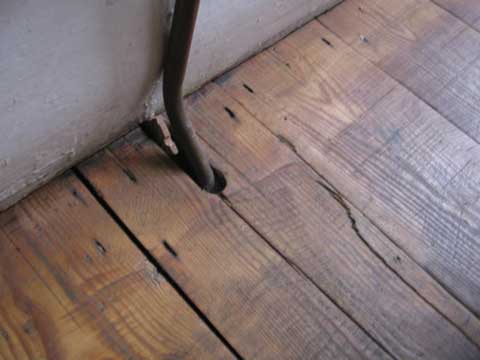
Insulating the walls inside a Victorian house is a dusty process. Before putting the insulation material in, the skirting boards, coving, curtain rails, light switches, plug sockets, window ledges and architraves all have to be removed. In our case, the builder found the skirting was rotten (because of our condensation problem, I presume). The plaster on some of the walls was also falling off due to the condensation, so that needed to come off before the work was started, as the walls need to be plumb.
 Preparation done, the bare walls then have the Ecostud battens attached with long screws through the wall. These battens are a type of chipboard (Oriented Strand board) bonded to extruded polystyrene that sit against the wall and stop the cold seeping through. They are supplied at the appropriate thickness for the EcoBatt. If the battens were just wood without the insulation attached they’d be colder than the wall insulation and act as a ‘cold bridge’, conducting cold air into the room.
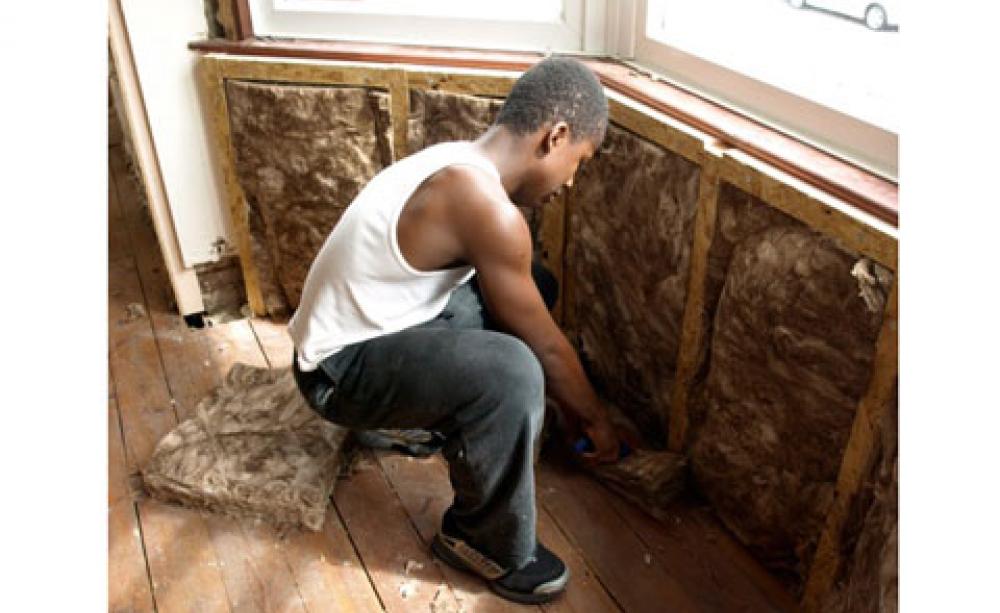
Then the Earthwool EcoBatts, which look like strips of cuddly loft roll but are higher performance (60mm thick x 555mm wide x 1200mm long), are placed between the battens (this is the easy bit – my 15-year-old son and his cousin helped with this). We chose 75mm thickness insulation, which has a thermal conductivity of 0.033W/mK, which is a measurement of heat-loss through the material.
The best you can get with glass mineral fibre is 0.032W/mK, but the people at Knauf went with 0.033 material as it brings the cost down. At 75mm, the system meets current building regulations for refurbishments. With the plasterboard over the top, this means you lose 90mm of space, but as we took most of the plaster off, it was actually more like 70mm.
The brown Earthwool EcoBatts are rather teddybear-like in feel. But reassuringly, they’re also non-combustible and water repellent. And as they’re made from recycled glass bottles with no petrochemicals or ozone-depleting chemicals, they’re as green as Knauf Insulation can make them. The fact that they are so lightweight and flexible makes them very easy to handle, ensuring that you can push them together easily and cut small strips off with a Stanley knife for any gaps so no cold air can seep through anywhere.
 When every bit of wall is insulated (including pushing it down a few inches below the wall’s floor level), a foil backed plasterboard is screwed onto the battens (the foil prevents any moisture coming through to the walls and condensation building up). The plasterboard is then skim-plastered as normal and all the skirtings, covings, window ledges, and so on, put back on.
In order to stop ‘cold bridging’ where the insulation material stops – that is at the corner edges of the room – the insulation has to go about 18 inches round the corner of the side walls from top to bottom. This means knocking off the plaster and attaching an insulated laminate board that is then skimmed over to make it merge into the side wall.
A list of lessons learned
As our house is a fairly small terraced house full of stuff, living in it while the building was going on was quite tricky, so here’s a list of lessons learned:
- Things you can’t pack away, cover up carefully with dustsheets but make sure the things you need are easily accessible and can be re-covered easily.
- Have a storage space or garden for the materials, or a spare room.
- Consider having the work done while on holiday, or doing one room at a time if you can’t. Our builder decided (understandably) that it would be best to do all three rooms at the same time so that each stage of the process would be done once, not three times, particularly if it involved contracting plumbers (we had a radiator moved to another wall) and plasterers. However, this meant that our whole house, apart from the kitchen and our daughter’s bedroom, was out of action for three weeks. Alternatively, use a builder who can do all of the trades himself and doesn’t need to work around others and can then do each room separately.
- Choose a builder who’s willing to learn – there are quite a few things they have to do a certain way at the direction of the supplier that they wouldn’t intuitively know.
- Cover the floors yourself with dustsheets and tape them down. Even if you have wooden floors that are easily washable it’s easier if you don’t have to do it, and ours got really, really dirty.
- Use the time to buy new curtains or get your current ones cleaned (Rob sectioned off the room a few feet from the windows with a large dustsheet to stop people seeing in). If you’re going to change your curtains, buy them ahead of time so you can put them straight up when the work’s finished.
- Bear in mind that when you fit the curtain railings you will need to make them slightly shorter on a bay window.
- Get the builder to mark where the battens are by sticking some coloured insulation tape on to the windows or ceiling so that you will know where to screw the curtain rails in. If they mark it on the wall the marks just get painted over and you have to tap the walls, Basil-Fawlty-style, to find the battens to screw into.
And the cost? Well, the main cost is in the labour: the time spent installing the insulation cost £2,200 (incl VAT); plumber, radiator and materials cost £430, and plasterer and materials £926. Building materials were £615 plus Knauf materials, which amounted to £505. Total cost £4,814.74. That sounds like a lot, but bear in mind our walls were shot anyway and needed mending in two of the three rooms, and the third one with two outside walls was unbearably cold so it was a must to get it insulated. So the extra cost to us was probably about £3,000. But hey, this winter I’m hoping we’ll feel the insulation compensation – physically and financially.
Now we’re so well insulated we have to make sure the ventilation is good – which is what’s happening this month with the installation of some Heat Recovery Units. And the highlight of it all – we’re getting a wood-burning stove. I can’t wait.
Sue Wheat is a freelance journalist
| READ MORE... | |
 |
GREEN LIVING Turning our Victorian terrace into an ecohome: part one One family's journey to turn a draughty, turn-of-the-century terrace into a snug paragon of eco efficiency |
 |
GREEN LIVING Turning our Victorian terrace into an ecohome: part two - insulation Sue has a brief love affair with solar panels, but realises that if she shies away from the thorny issue of solid wall insulation, she's throwing good money after bad |
 |
GREEN LIVING Turning our Victorian terrace into an ecohome: part three - floors Insulating the floor can be fiddly, messy and costly. Luckily, there are simple, cheap options too as Sue discovers |
 |
GREEN LIVING Turning our Victorian terrace into an ecohome: part four - ecogadgets Sue immerses herself in the addictive world of ecogadgetry, including water-powered alarm clocks and a crash course in cooking with blankets... |
 |
SPECIAL CONTENT Ecologist guide to greening your home Greening your home can save you energy and money as well as making it healthier and lowering its carbon footprint |


